
Last updated November 15, 2026
 Sweep & inspection
 Caps & crowns
 Flue relining
 Masonry repair
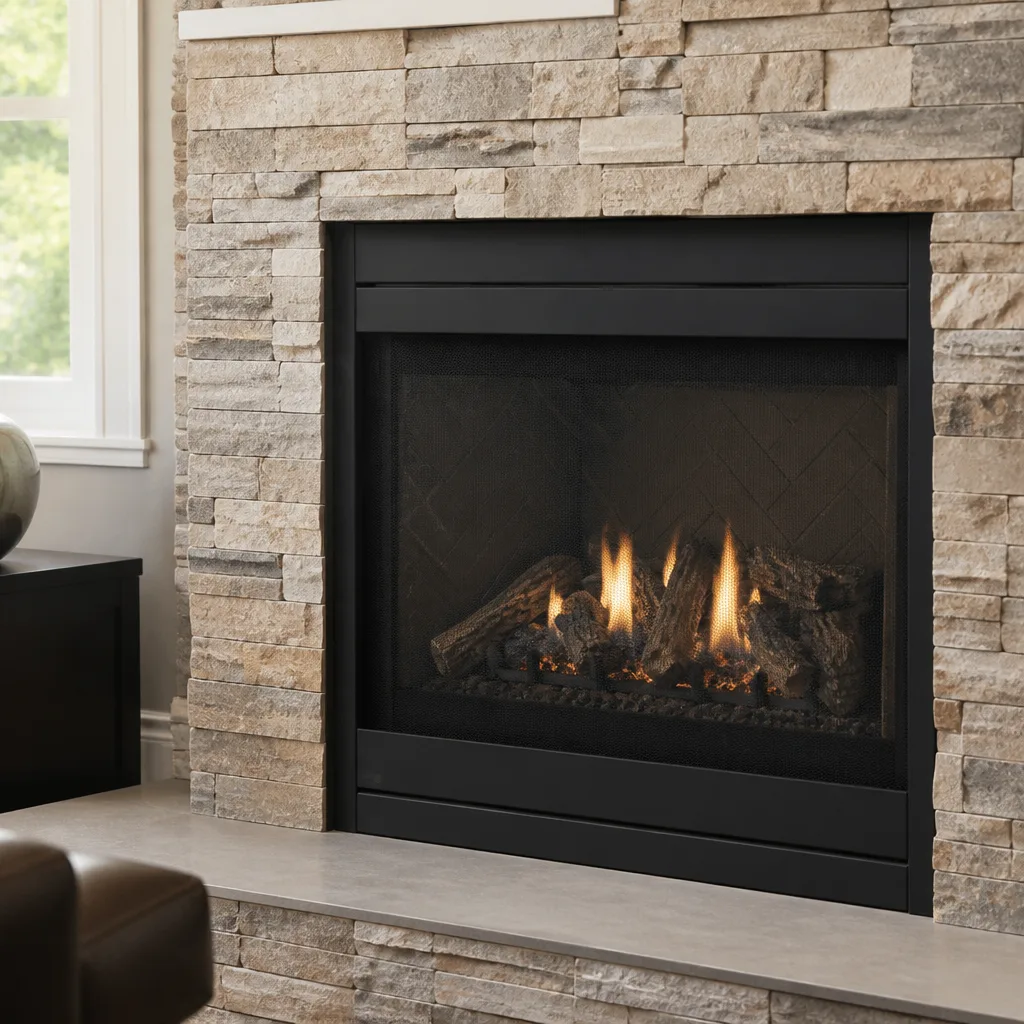 Gas fireplace service
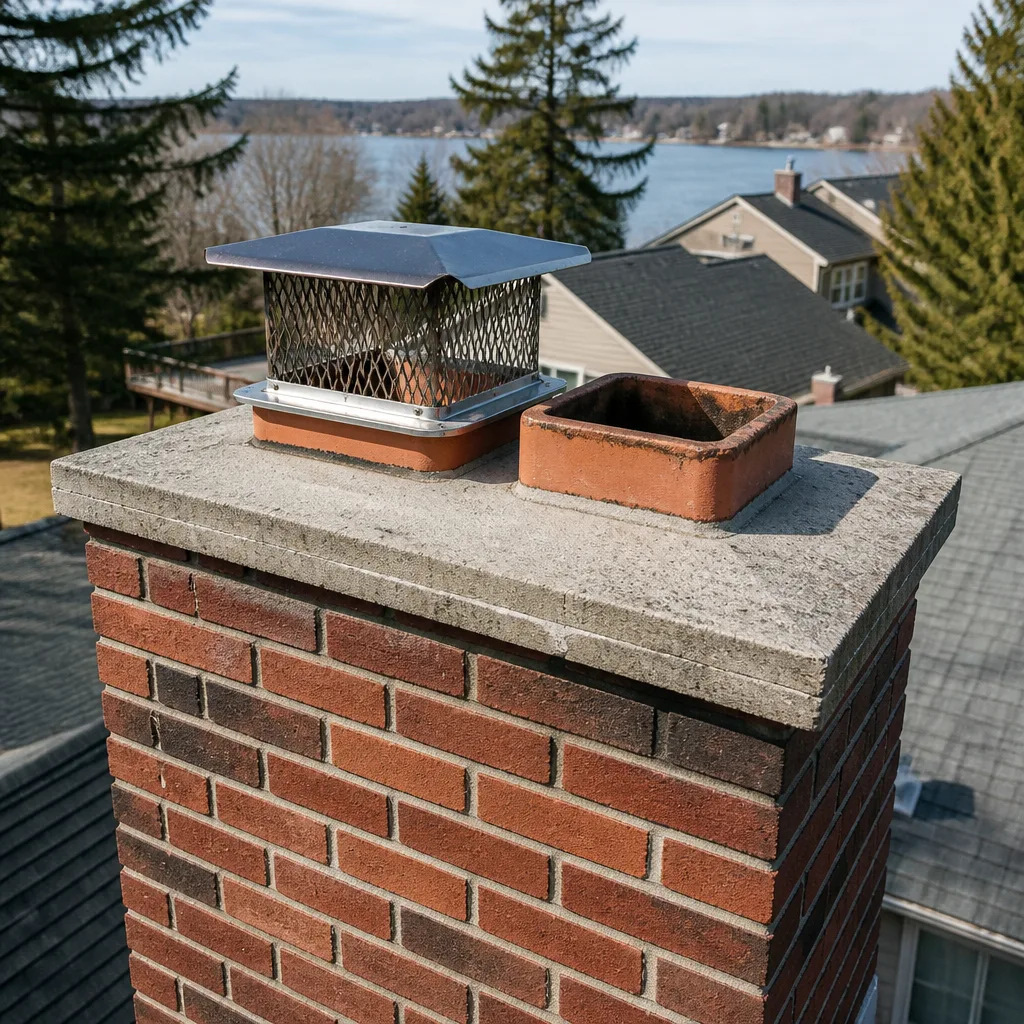
Level 1 sweep and inspection to the NFPA 211 annual standard - flue, crown, cap, and flashing checked and photographed
Chimney sweep logs do not sweep chimneys. They loosen some creosote - which then falls where a brush and vacuum still have to collect it.
Chimney Sweep Maintenance Checklist for Tallahassee Homeowners
Most chimney maintenance checklists floating around online were written for people in Vermont or Minnesota who burn wood five months a year and spend the other seven buried in snow. Follow that advice in Tallahassee and you’ll spend your energy on the wrong tasks at the wrong time. The calendar here is different. Hurricane season runs from June through November. Summer thunderstorms roll through in the afternoon and drop lightning on trees that shade your roofline. And the actual burning window is short, maybe eight to ten weeks of genuinely cool nights. This guide is built around that calendar, not a four-season template written for a different climate.
What follows is a month-by-month breakdown of what to check, when to check it, and what you can handle yourself versus what needs a trained eye and professional tools. If you’ve recently bought a home in Tallahassee, gone several years without an inspection, or noticed smoke or odor issues, this is the sequence to work through.
Quick Answer
A chimney maintenance checklist for Tallahassee should center on four anchors: a professional sweep and inspection before burning season begins in late fall, a post-hurricane-season glance at the cap and crown from the ground at the end of November, a mid-summer check after any major storm, and a habit of noting condition changes year over year so slow deterioration doesn’t go unnoticed. Most of the between-visit tasks you can handle yourself from the ground with binoculars. The interior assessments, especially the flue liner, need professional tools and training.
Styles & brands we work with
- Sweep & inspection
- Caps & crowns
- Flue relining
- Masonry repair
- Gas fireplace service
Table of Contents
- Why Standard Checklists Miss the Mark in Tallahassee
- Month-by-Month Chimney Maintenance Calendar
- Post-Storm and Post-Lightning Checks
- Damper, Cap, and Flashing: Florida-Specific Wear
- The Flue Liner: What You Can See and What You Can’t
- Self-Perform vs. Professional Assessment
- Documenting Condition Year Over Year
- How Often Does a Tallahassee Chimney Actually Need Sweeping?
Why Standard Checklists Miss the Mark in Tallahassee
A chimney’s job is the same anywhere: move smoke and combustion gases up and out of the house safely. But the threats to that job come from different directions depending on where you live. In a deep-cold climate, the enemy is thermal stress from repeated freeze-thaw cycles on masonry. In Tallahassee, the pressure comes from humidity, UV exposure, and storms.
The humidity here stays high most of the year. Masonry is porous. When a chimney crown cracks or a flashing seal fails, moisture gets inside and stays inside for longer than it would in drier climates. That trapped moisture doesn’t just cause cosmetic staining. It degrades mortar joints over time and rusts out damper hardware and flue liner connections before a homeowner realizes anything is wrong.
UV exposure is the other factor. The sun here is strong most of the year. Rubber-based gaskets, sealants on metal caps, and the plastic or rubber components on a prefabricated chimney cap degrade faster in strong sun. A cap that would last ten years in a milder climate can start pulling at the seams in less time, and once the cap is compromised, water gets into the flue.
Then there’s the storm factor. Hurricane season runs June 1 through November 30, and Tallahassee sits close enough to the Gulf that tropical systems can push wind-driven rain and airborne debris into any opening they find. That debris is exactly why a generic winter-focused checklist fails here. A blocked or partially blocked flue is a carbon monoxide risk. If you skip the post-storm check, you can carry that blockage into your first fire, and that’s when it matters.
None of this makes a Tallahassee chimney more dangerous than one in Maine. It just means the maintenance calendar and the inspection triggers are different, and the checklist needs to match the local reality. Our technicians have up to 14 years of experience across the different climates and systems, and the pattern in this region is consistent: moisture intrusion and storm debris cause more maintenance problems than soot buildup does.
Month-by-Month Chimney Maintenance Calendar
This calendar is built around the way you actually use a fireplace in this part of the state: minimal use in summer, ramping up in December and January, and an evening fire whenever a cool front slides through in late fall. The idea is to stay ahead of the season rather than react to a problem after it shows up.
January through February: Peak Burning Season
This is when the chimney does the most work. Keep an eye on draft quality. A fire that smokes back into the room, or a fireplace that smokes on cold starts, is a signal worth noting. Note it, but don’t fix it mid-season unless it’s a safety issue. Also note any change in the smell of the fireplace, since a strong, lingering odor after a fire can indicate a draft problem or a cap issue.
March through April: End-of-Season Check
Once you stop burning for the year, take a look at the firebox from inside with a flashlight. Look for loose mortar joints, cracks in the firebrick, or crumbling material around the damper. It’s also the time to check your exterior from the ground with binoculars, looking at the cap, the crown, and the flashing where the chimney meets the roof.
May: Pre-Hurricane Season Prep
Before the first tropical system forms, verify the chimney cap is secure. A loose or missing cap is the single easiest way for wind-driven rain and debris to get in. This is also a good month to look at any tree limbs that hang near the chimney and could cause damage in a high wind.
June through November: Hurricane and Storm Season
Check the exterior of the chimney after every named storm that passes through the region, and after any strong afternoon thunderstorm with significant wind. From the ground with binoculars, you can usually see if the cap is still in place, whether the crown looks shifted, and whether any flashing has lifted.
September through October: Pre-Burning Season Sweep
Before the first cool front, schedule a professional sweep and inspection. Creosote from the previous season has had all summer to harden. Getting it removed now means you start the season with a clean flue, and any issue that built up over the summer gets caught before you light the first fire. Book it early in this window because sweeps fill up quickly right before the season starts.
December: Final Check Before the First Fire
Do a quick visual from the firebox before the first burn. Verify the damper opens fully, nothing has fallen into the flue from above, and no animal has taken up residence in the chimney during the off-season. It happens more than you’d think, and a blocked flue at the start of the season is a carbon monoxide risk.
Post-Storm and Post-Lightning Checks
This is the part most maintenance checklists skip, and it’s the part that matters most here. A chimney that survived a tropical storm doesn’t necessarily come out of it undamaged. A chimney that takes a nearby lightning strike doesn’t necessarily look any different from the ground afterward.
What to Check After Any Major Storm
Start from the ground with binoculars, not on the roof. Working on a wet roof after a storm is genuinely dangerous and isn’t a task for a homeowner.
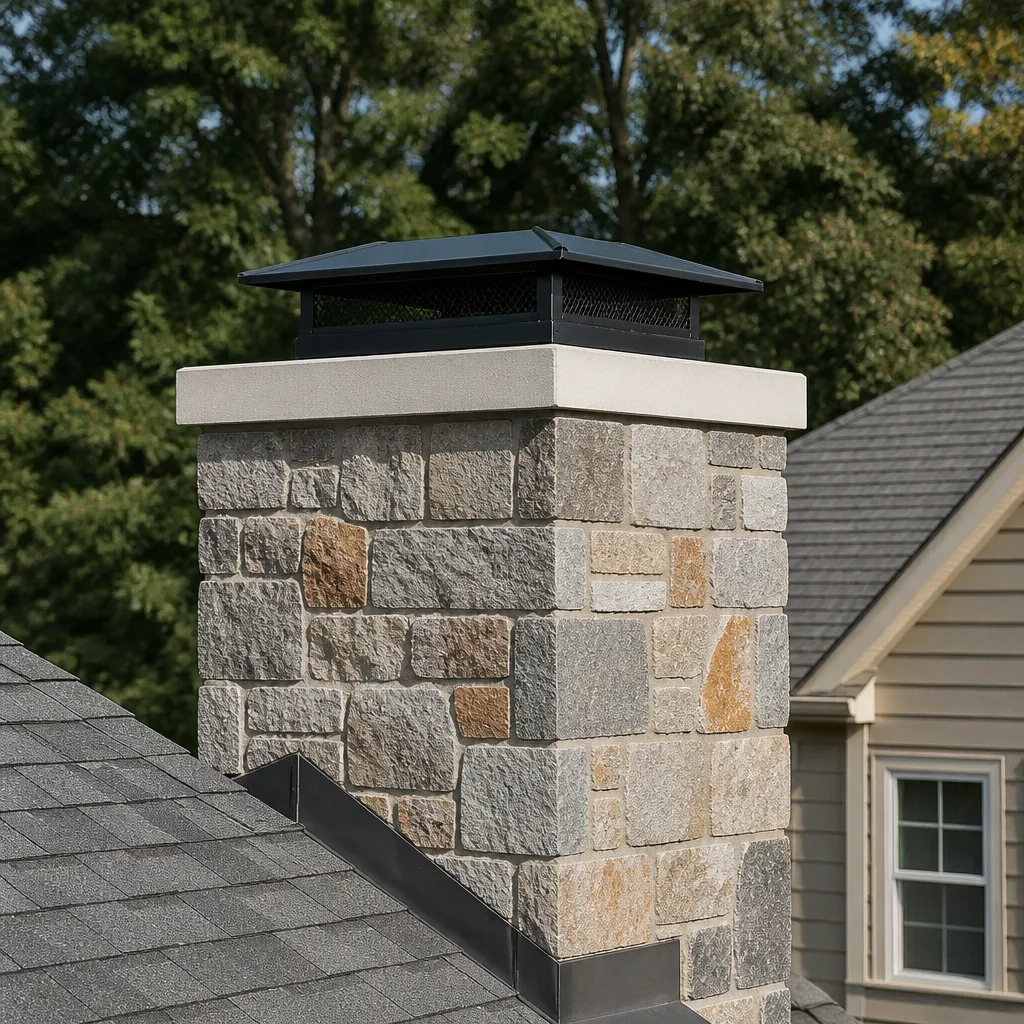
- Cap condition. Is the cap still in place? Is it sitting level? Look for a cap that has shifted, tilted, or lost one or more of its mounting legs. Gelco and Olympia Chimney caps are built to stay put, but wind-driven debris can strike them hard enough to cause a problem.
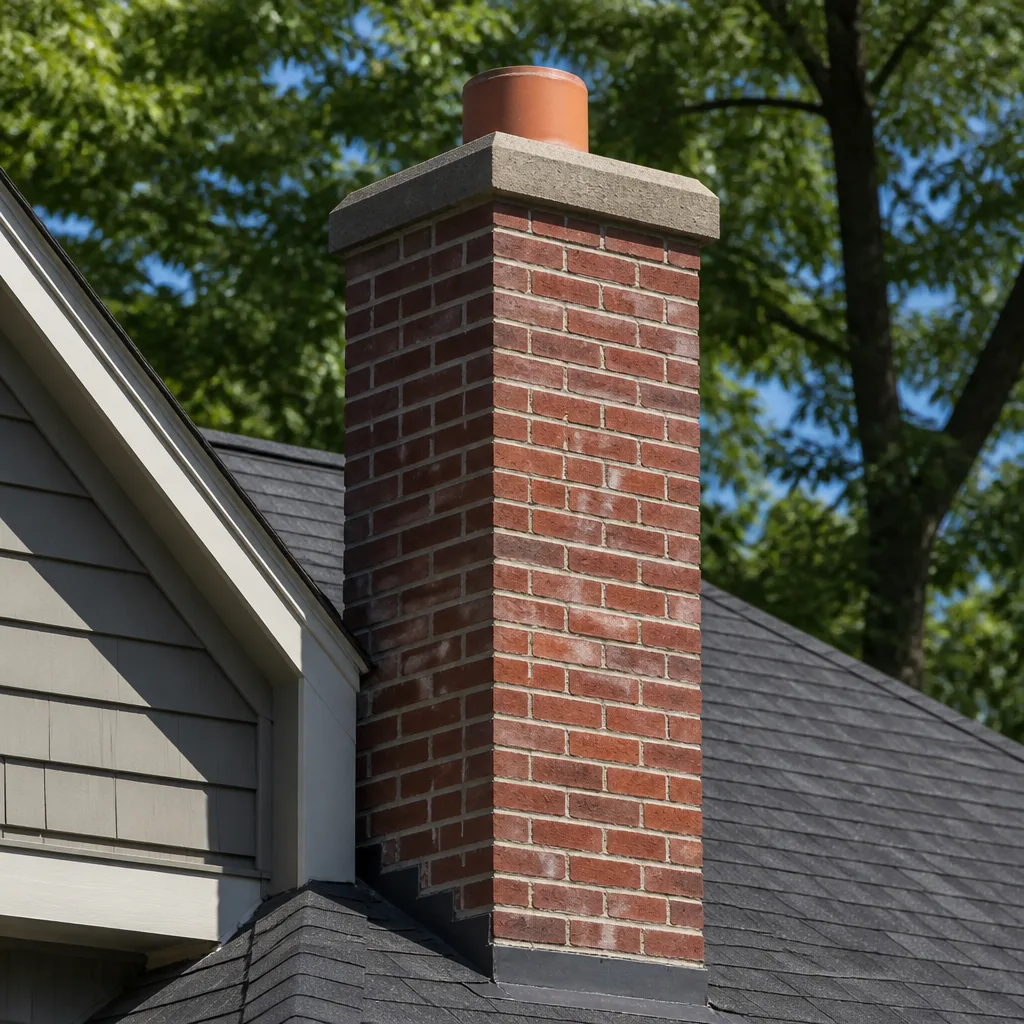
- Chimney crown. The crown is the concrete top that sheds water away from the flue. Look for cracks that weren’t there before. Even a hairline crack lets water in every time it rains.
- Flashing. The metal that seals the chimney-to-roof joint is the most common leak point. Look for lifted metal or gaps in the sealant.
- Chimney chase or masonry. Look for missing bricks, spalled faces, or sections of stucco that have pulled loose.
- Debris in the flue. Listen from inside the house with the damper open. Leaf litter, small branches, and windblown debris can drop into the flue and stay there.
- Water stains inside. After a storm, look at the ceiling or wall near the chimney for staining. That’s a sign water is getting in somewhere.
What to Check After a Nearby Lightning Strike
If lightning hits anything on your property, or hits within a few hundred feet of the house, have the chimney inspected. Lightning can travel through the home’s electrical system or strike the top of the chimney directly. From the ground, you’ll see nothing. Inside the flue, it can cause cracking that isn’t visible until a professional inspects the liner with a camera. A cracked flue liner is a carbon monoxide risk once you start burning again.
The other post-lightning check is electrical. If there’s a gas fireplace with an ignition system, verify it still lights normally after a storm. If a wood-burning system takes a strike, the firebox and damper are worth examining closely. Damage from lightning isn’t always visible from outside, and it’s not something a homeowner can reliably assess with a flashlight.
If a storm has left you uncertain about the condition of your system, the safest move is to get eyes on it. That’s the reason a chimney inspection exists. Our inspection documents system condition formally, which helps if you need it for insurance or real estate records.
Damper, Cap, and Flashing: Florida-Specific Wear
These three components take more wear here than in colder climates because the failure mechanism isn’t freezing, it’s a combination of moisture and sun exposure.
The Damper
The damper is the metal plate inside the chimney that opens to let smoke up and closes to keep conditioned air inside. In humid climates, the damper hardware rusts faster than it would in a dry climate, and the plate itself warps or sticks. What to check:
- Does the damper open to its full range of motion, or does it stick partway?
- Does it close tightly? A damper that won’t seal means air conditioning bills go up in summer and downdraft problems show up in winter.
- Any visible rust on the hinge or the plate?
- Any debris that has fallen in and is stopping full closure?
The Cap
A chimney cap does two jobs: it keeps debris and wildlife out, and it keeps rain from going straight down the flue. UV exposure breaks down the rubber gaskets and sealants used on some cap designs. Humidity corrodes connection points on metal caps. What to check:
- Is the cap present and firmly seated?
- Are all the legs or mounting brackets intact?
- Is the spark screen (the mesh) intact, or has it rusted through?
- Has the cap shifted off-level?
A cap that’s failing lets water inside the chimney every time it rains. Water and soot together form an acidic mixture that eats into masonry. We typically replace failing caps with Gelco or Olympia Chimney components, because improvised hardware-store caps tend to fail again in the same UV and humidity conditions.
The Flashing
Flashing is the metal at the base of the chimney where it meets the roof. It’s the most common leak point on any chimney, and in a place that gets sudden, heavy rain during thunderstorm season, a failing flashing seal shows up fast. What to check from the ground:
- Metal that has lifted at the seam with the roof shingles.
- Visible gaps in the caulk or sealant at the flashing edge.
- Rusted or deteriorated flashing metal.
- Water staining on the ceiling below the chimney.
Flashing repair is not complicated, but it’s also not a job for a ladder and a tube of caulk. Improperly re-sealed flashing fails again by the next rainy season, and each time it fails, more water is getting behind the shingles. From the inside, the damage is slower to spot. From the outside, a pro can see exactly where the seal is compromised.
The Flue Liner: What You Can See and What You Can’t
The flue liner is the innermost layer that actually contains the smoke and combustion gases. On a modern chimney, it might be a stainless-steel liner. On an older chimney, it could be clay tile. In all cases, the liner is what keeps carbon monoxide out of the house. If it’s cracked, compromised, or missing in places, hot gases and CO can escape into the structure of the home.
Here’s the honest reality: a homeowner cannot reliably assess a flue liner with a flashlight from the firebox. Most of the liner isn’t visible that way. Assessment requires a camera on a flexible rod, inserted from either the top or the bottom, so the tech can see the entire interior surface. That’s why a professional chimney inspection uses a camera, and it’s why the inspection report is a real document rather than a verbal “looks fine.”
Signs That Suggest a Liner Problem
You can’t see the liner, but you can watch for signs that it’s worth checking:
- Smoke or odor coming into the room when the fireplace is lit.
- A fireplace that used to draw well and now struggles.
- White staining (efflorescence) on the exterior masonry, which can indicate moisture moving through the chimney.
- Debris or broken tile pieces visible inside the firebox.
- A chimney that has survived a lightning strike or a chimney fire.
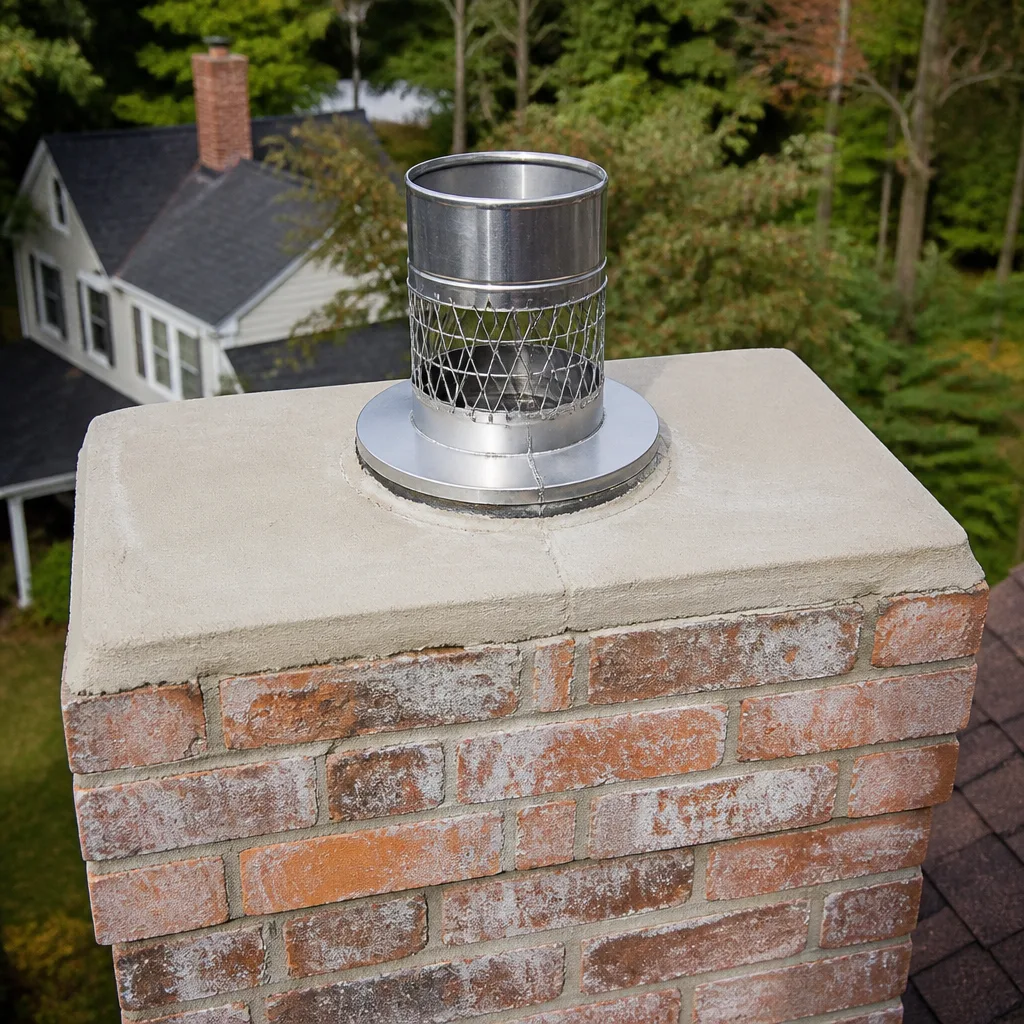
When a liner has failed, a stainless-steel relining system is the standard fix. DuraFlex flexible liner systems are what we typically install for relining jobs. If the liner itself is structurally sound but the interior surface is rough or deteriorating, a ceramic resurfacing product like HeatShield can restore the surface without a full reline. Both are product-specific decisions: the right answer depends on what the camera actually shows. That’s why we don’t quote a liner repair from a description over the phone. The liner isn’t a DIY project, and it isn’t something to guess at.
Self-Perform vs. Professional Assessment
Homeowners can do a surprising amount of chimney maintenance themselves, and there’s real value in knowing what to watch. But there’s also a clear line between what you can handle and what you can’t accurately assess without professional tools. Here’s how to draw that line.
Tasks You Can Handle Yourself
- Ground-level visual checks. Binoculars on the cap, crown, and flashing after a storm. Look for anything shifted, missing, or cracked.
- Interior signs of trouble. Note smoke coming into the room, a lingering odor after a fire, or a damper that’s sticking.
- Firebox visual inspection. Flashlight in the firebox before the first fire of the season, checking for loose mortar, cracks in the firebrick, or fallen debris.
- Cap cleanliness. From the ground, verify the cap’s spark screen isn’t visibly clogged with leaves or debris.
- Water staining check. Ceiling and wall near the chimney after a storm. Any new staining is a flag.
- Noting condition changes. Kept in a log with dates and photos, this record is genuinely useful.
Tasks That Require Professional Tools and Training
- Flue interior assessment. A camera inspection is the only reliable way to assess the liner.
- Creosote removal. The proper tools, and the knowledge of how to use them without damaging the flue, are not homeowner-level equipment.
- Liner replacement or relining. This is a DuraFlex or HeatShield application, and it’s not a DIY project.
- Crown repair or flashing replacement. Roof-level work, properly done, requires roofing and chimney-specific skill.
- Determining whether a cap failure means a new cap or a new liner. The two are connected; if water has been getting in, the liner may have been affected.
- Formal documentation. For real estate transactions, insurance, or dispute resolution, you need a documented inspection from a professional, not a homeowner’s notes.
The pattern is that visible exterior items can be tracked from the ground, and interior items need professional eyes. The middle category, where a visible problem has a hidden consequence (a cracked crown that lets water into the liner), is where homeowners typically get surprised. Our general advice is to trust the visual signs and call a professional when you spot one, because the cost of a professional assessment is always lower than the cost of an undetected problem through a burning season.
Documenting Condition Year Over Year
Chimneys don’t usually fail suddenly unless a storm is involved. They deteriorate gradually, and the deterioration is slow enough that it’s hard to remember what a component looked like a year ago. That’s why a simple log matters.
The goal isn’t a spreadsheet. It’s a running note that, over three or four years, shows whether the crown is holding up, whether the flashing is wearing as expected, or whether the cap is starting to age out. When you eventually do need a repair, that log makes the decision easier and the conversation with a professional faster.
What to Record
- Date of every check, whether it’s a ground-level glance or a professional inspection.
- Photographs of the cap, crown, and flashing from a consistent angle. Consistency is what makes the photos comparable year over year.
- Notes on any change from the previous check, even if the change looks minor.
- Professional inspection reports, kept in the same file. Documentation from any formal inspection is the most valuable record you’ll have.
- Any repairs performed, with the material used (for example, “cap replaced with a Gelco unit,” “flashing resealed”).
Why This Matters For Real Estate and Insurance
If you sell a home in Tallahassee, documentation is often required by buyers and their agents. If a chimney inspection shows the system in good condition, it’s a strong selling point. If it shows work is needed, the documentation tells you what’s needed and lets you get a proper estimate. If you have a claim with your insurance company after a storm, documentation of the chimney’s prior condition can be valuable.
Our inspection service documents system condition formally, and that documentation is exactly what you want in your file. Over years, the record becomes a real asset.
How Often Does a Tallahassee Chimney Actually Need Sweeping?
The standard answer is “once a year for a wood-burning fireplace in regular use,” and that’s the baseline for most chimneys. The nuance in this climate is that a short burning window means fewer fires per year for most homeowners, so the annual sweep is more about inspection-driven cleaning than heavy soot removal.
What we typically see with Tallahassee homeowners is one of three patterns:
- Light seasonal use. A chimney used for a few months a year, with occasional fires, typically needs a sweep and inspection once before the season begins, and no mid-season work unless something changes.
- Heavier use. A wood-burning insert or a fireplace that runs daily through the winter builds up creosote faster and may benefit from a mid-season check.
- Gas fireplaces. A gas fireplace doesn’t produce creosote from wood smoke, but it still needs inspection for venting, moisture, and cap condition. The annual check is still worth it.
Beyond frequency, the question is what the sweep is actually for. A proper chimney sweep removes soot and creosote buildup from the flue, verifies the flue is clear, and gives the tech a chance to look at the interior surfaces. That last part is where the real value is. A sweep without an inspection misses the liner condition. An inspection without a sweep leaves you with a report but a dirty flue. Both belong in the same visit.
If you’re unsure of your own frequency, the simplest path is to check once before the season and let the sweep tell you what the flue actually looks like. That’s what our chimney sweep visit covers, and it’s the foundation for everything else on this checklist.
Common Mistakes to Avoid
- Skipping the post-storm check. In a climate with hurricane season running June through November, skipping the post-storm visual is the most common maintenance gap. A storm doesn’t have to take the whole chimney down to cause a problem; a shifted cap or a pushed-in branch is enough.
- Assuming a “looks fine” is enough. Most of the liner isn’t visible from the ground or the firebox. “Looks fine” is the description of a system the person actually saw. Anything they didn’t see is not assessed.
- Burning before the pre-season sweep. The first fire of the season is when any accumulated damage from the summer becomes a real safety issue. Get the sweep first.
- Ignoring a damper that closes less tightly. A damper that doesn’t seal lets conditioned air out and lets cool air in. It won’t feel like an emergency, but it’s a signal that the hardware is degrading.
- Waiting to fix flashing that leaks. Flashing that’s leaking today will be feeding water into the structure of the chimney for the whole rainy season. There’s no good reason to defer it.
- Replacing a cap with whatever’s at the hardware store. Caps fail in the same UV and humidity conditions here that fail everything else. A cheap cap from the hardware store is not built for this climate.
- Not keeping records. Without a log, a photo, or a formal inspection report, you have no way to see slow deterioration. The next homeowner will be the one to discover it.
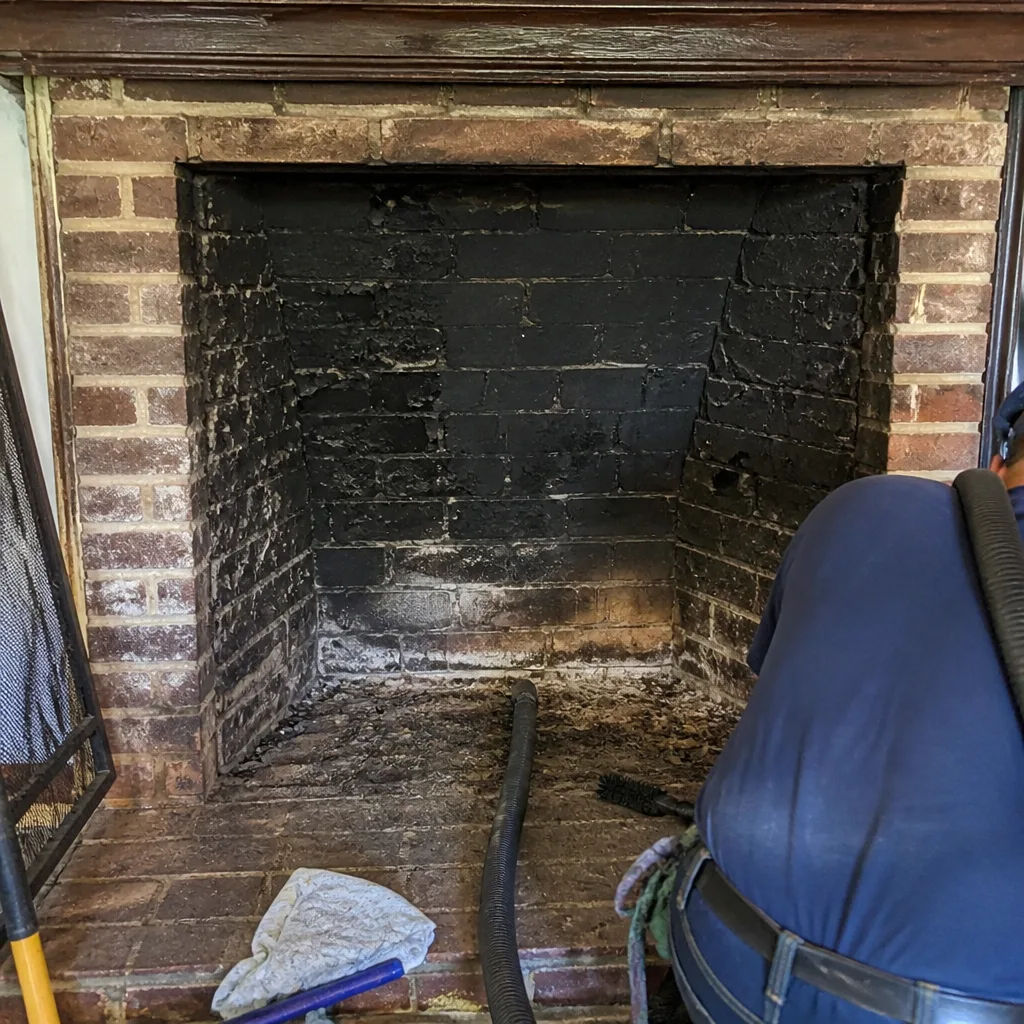
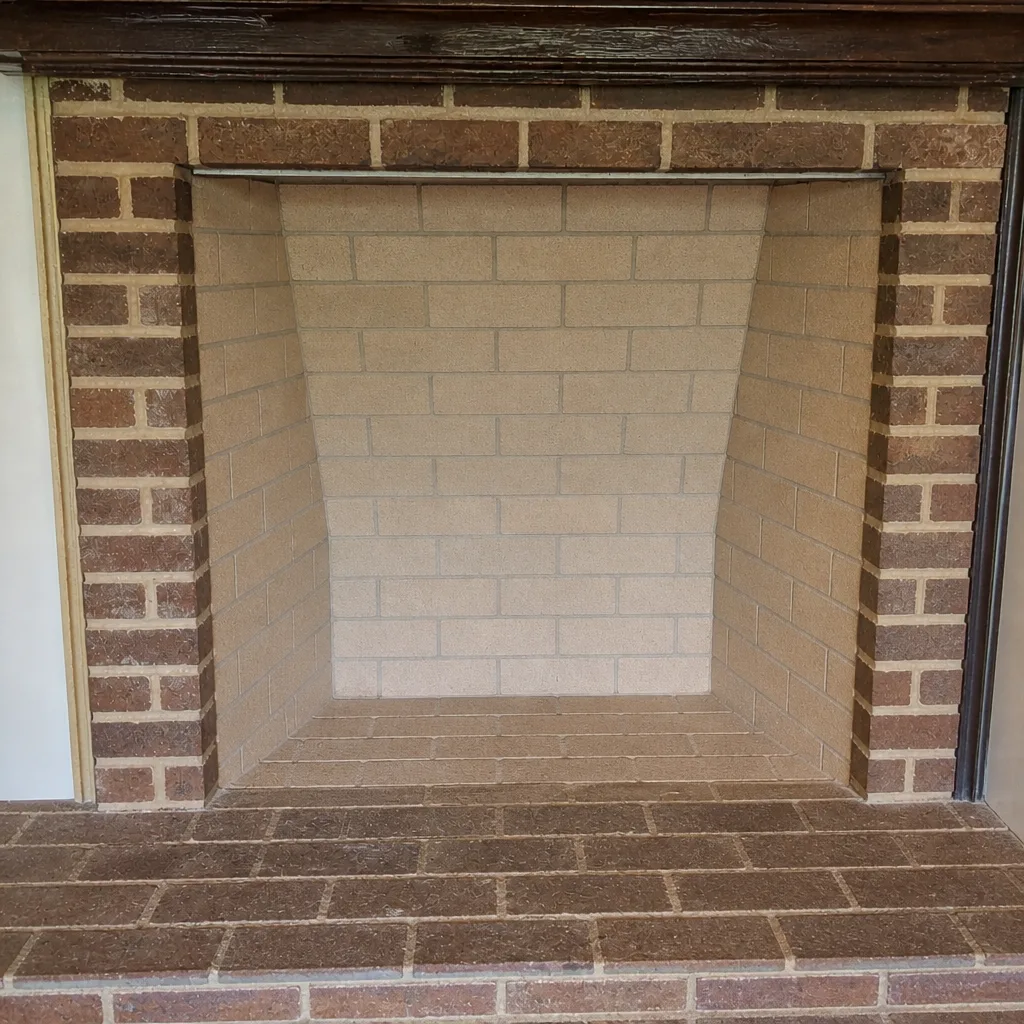
See the difference
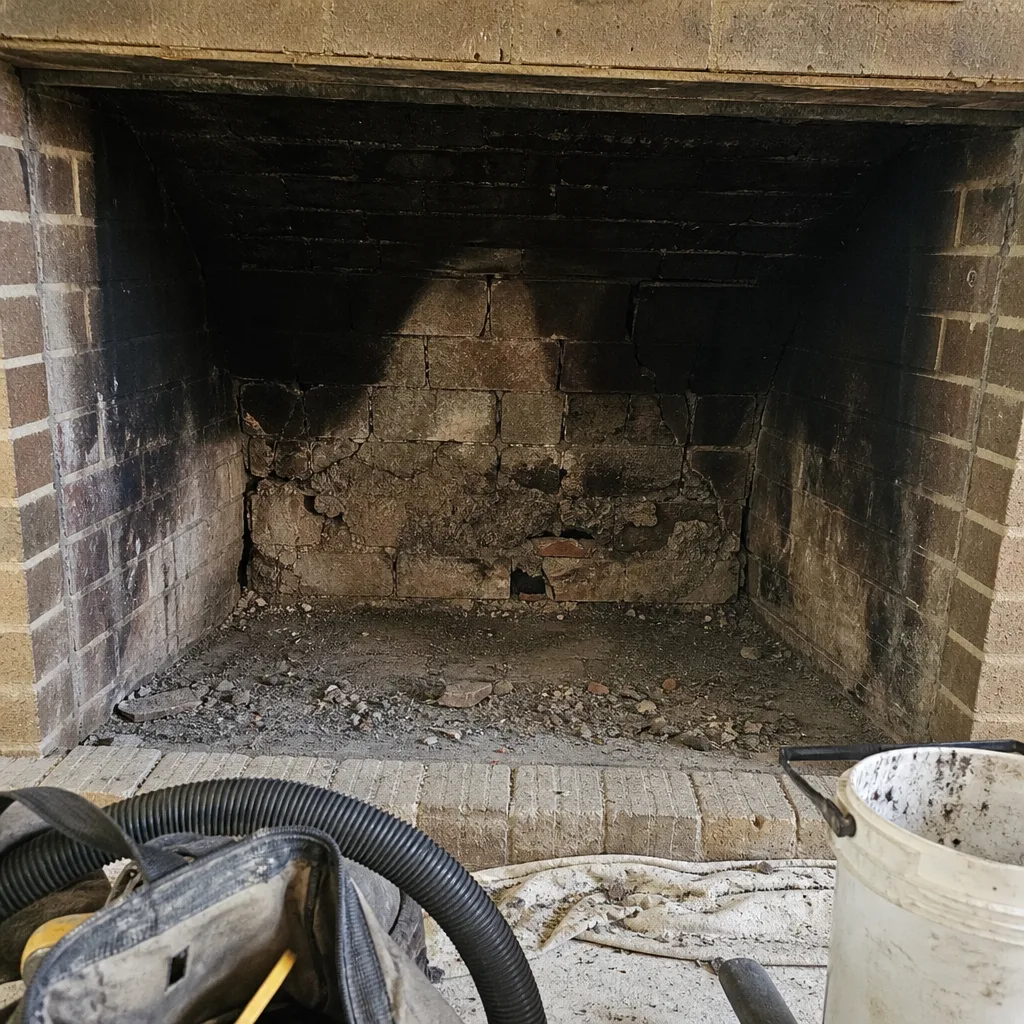 Before
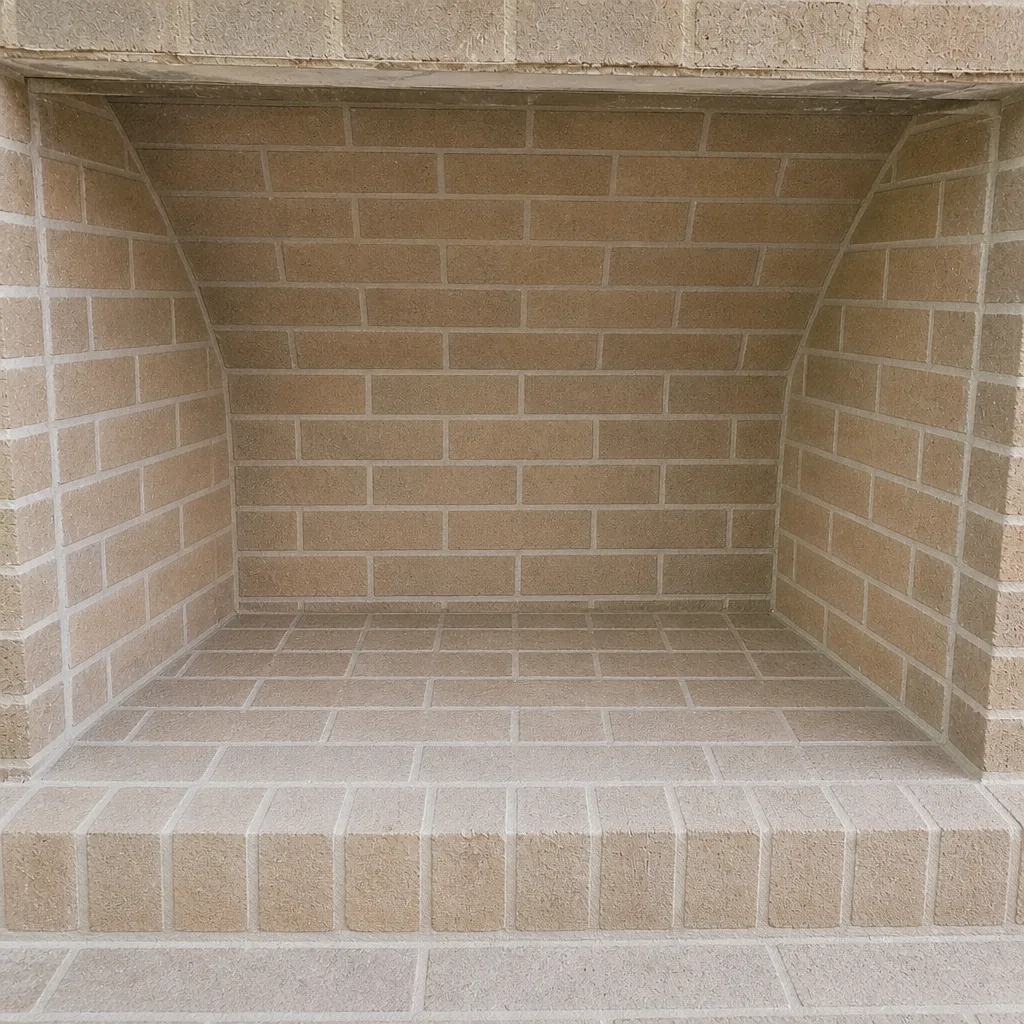 After
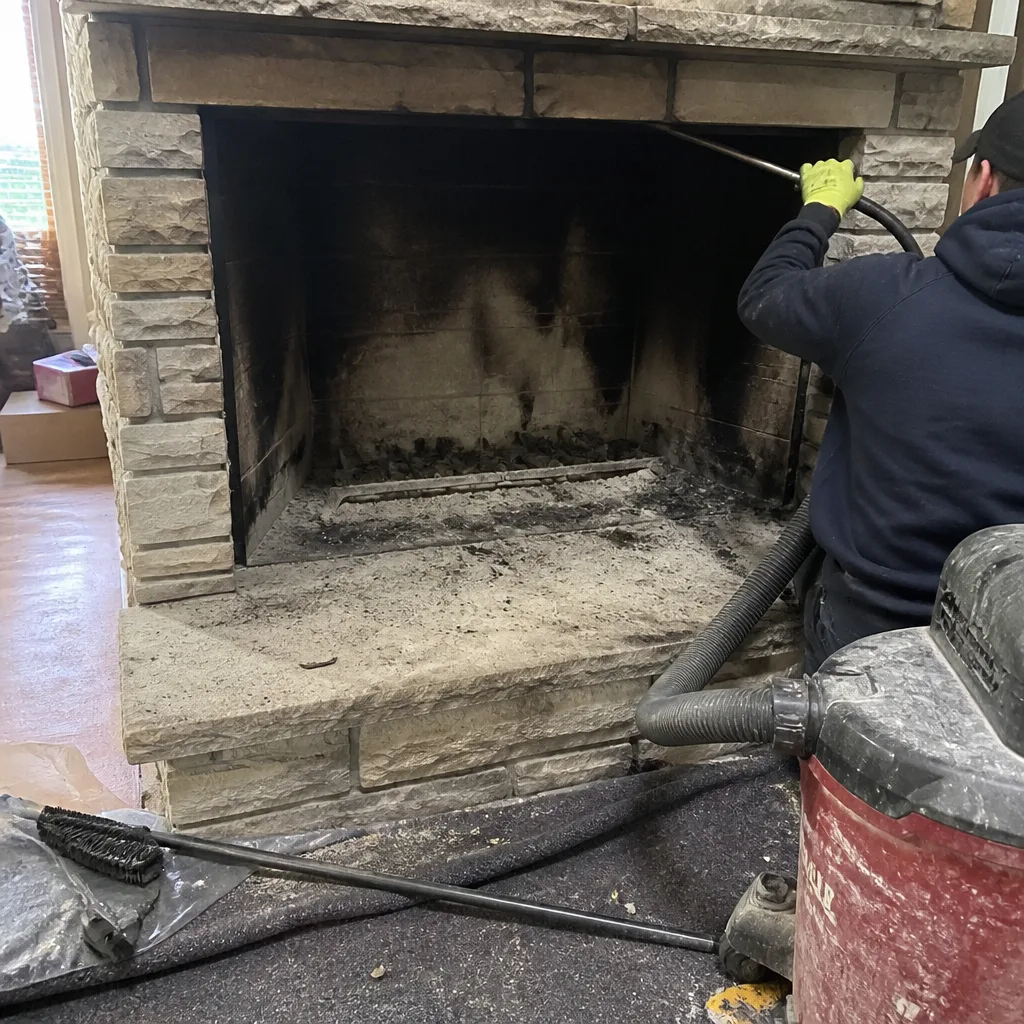 Before
 After
 Before
 After
When to Call a Professional
You’ve got a professional-level assessment to make when any of these applies:
- Your last professional sweep and inspection is more than a year old.
- A named storm or a strong thunderstorm has passed through your area since your last check.
- Lightning has struck nearby or on the property.
- You notice smoke entering the room when the fireplace is lit.
- You smell a lingering, unusual odor after a fire.
- You found visible damage on the cap, crown, or flashing.
- You’re selling or buying a home and need documentation.
Our chimney repair and inspection work happens in-house, which means a single call covers the whole system without coordinating between a sweep crew and a repair contractor. Tallahassee Chimney Sweep offers free estimates in Tallahassee. Call (855) 904-4110. We answer 24/7. Fast dispatch from 7am to 7pm, Sunday through Friday.
Frequently Asked Questions
Once a year for a wood-burning fireplace, with the visit timed before the season starts in the fall. That said, we recommend folding a sweep and inspection into the same visit, since a sweep without an inspection leaves the liner condition unchecked. If your last inspection is more than a year old, it’s time. Call (855) 904-4110 for an exact quote. Estimates are free.
Not always, and nobody should tell you otherwise without a camera inspection showing the damage. A flue liner that’s structurally sound but has a rough interior can often be resurfaced. A structurally compromised liner needs relining. Both decisions require seeing the liner, not guessing from a description. Before you commit to liner work, get the inspection and see the evidence yourself. Call (855) 904-4110 to book an inspection.
Gradual damage and, in the worst case, a carbon monoxide risk during burning season. The maintenance items aren’t optional for their own sake; they’re the way you verify the system is safe before you use it. A skipped pre-season sweep lets creosote and debris accumulate. A skipped post-storm check leaves storm debris in the flue. The cost of a professional visit is always lower than the cost of what an unchecked problem turns into. Call (855) 904-4110.
Cap, crown, flashing, and chimney chase, from the ground with binoculars, plus a look for water stains inside the house near the chimney. Do not climb on the roof after a storm. If you see any damage from the ground, or if a tree limb or debris has struck the chimney, that’s a call-a-professional situation. We answer 24/7 at (855) 904-4110, and dispatch runs Sunday through Friday, 7am to 7pm.
You can handle ground-level visual checks and a flashlight walkthrough of the firebox. What you can’t do reliably is assess the flue liner, since most of the liner is not visible from the ground or the firebox. A proper chimney inspection uses a camera on a flexible rod so the entire interior is on record. That’s the difference between “looked at it” and “inspected it.” Call (855) 904-4110 to book a camera inspection.
Keep a dated log with photos from a consistent angle, plus copies of any professional inspection reports. The log lets you see whether the crown or flashing is deteriorating gradually, and it’s useful for real estate or insurance conversations later. Our Tallahassee inspection service produces a formal written report, which is the easiest starting point for that file. Call (855) 904-4110 for details.
The Bottom Line
The right maintenance checklist for Tallahassee isn’t a four-season template from a colder climate. It’s a calendar that treats hurricane season as a real inspection trigger, treats the short burning window as a defined maintenance window, and treats the flue liner as a professional-assessment item rather than a homeowner check. Handle the ground-level visual checks yourself after every storm and before every season. Handle the sweep and inspection professionally, once a year, before the first fire. Keep records. That’s the whole checklist, and it works.
If any item on this checklist has raised a question about your system, the next step is a look from someone who does this every day. Our Tallahassee chimney sweep service, repair work, and inspections all run in-house, and the sweep-repair-inspect three-part approach means a single call covers the whole system. We work with professional-grade brands including DuraFlex for relining and HeatShield for ceramic resurfacing, not whatever is on a hardware store shelf.
Call (855) 904-4110 for a free estimate. We answer 24/7. Fast dispatch from 7am to 7pm, Sunday through Friday.
Written by the team at Tallahassee Chimney Sweep.